
Before you start
You need three things.
- A domain you own. The root name —
example.com, notwww.example.com. Any domain works; imado does not sell them. - The login for its DNS host. That is usually the registrar you bought the domain from. If you have pointed the domain's nameservers somewhere else — Cloudflare, Vercel — the records go there instead; your registrar's domain page shows the nameservers.
- An email address you already read, for your imado account. Sign-in and password-reset mail is sent there, so it cannot be an address on the domain you are about to set up.
01Create an account
Sign up with the address above and a password, then open the verification link we send. The account is free and holds every domain you connect; you do not make one account per domain.
02Connect your domain
The first page after sign-in asks for the domain. Type the root name and press Connect this domain. Nothing about the domain changes yet — it changes when you publish the records in step 4. The first domain creates a project of the same name; a project is the place a domain, its mailboxes and the people who read them live, and you can rename it later.
If mail on this domain already goes somewhere — a forwarding service your registrar set up, Google Workspace — we say so and ask before you go on, because imado replaces it. Mail arriving at the old place stops when the new records are in.
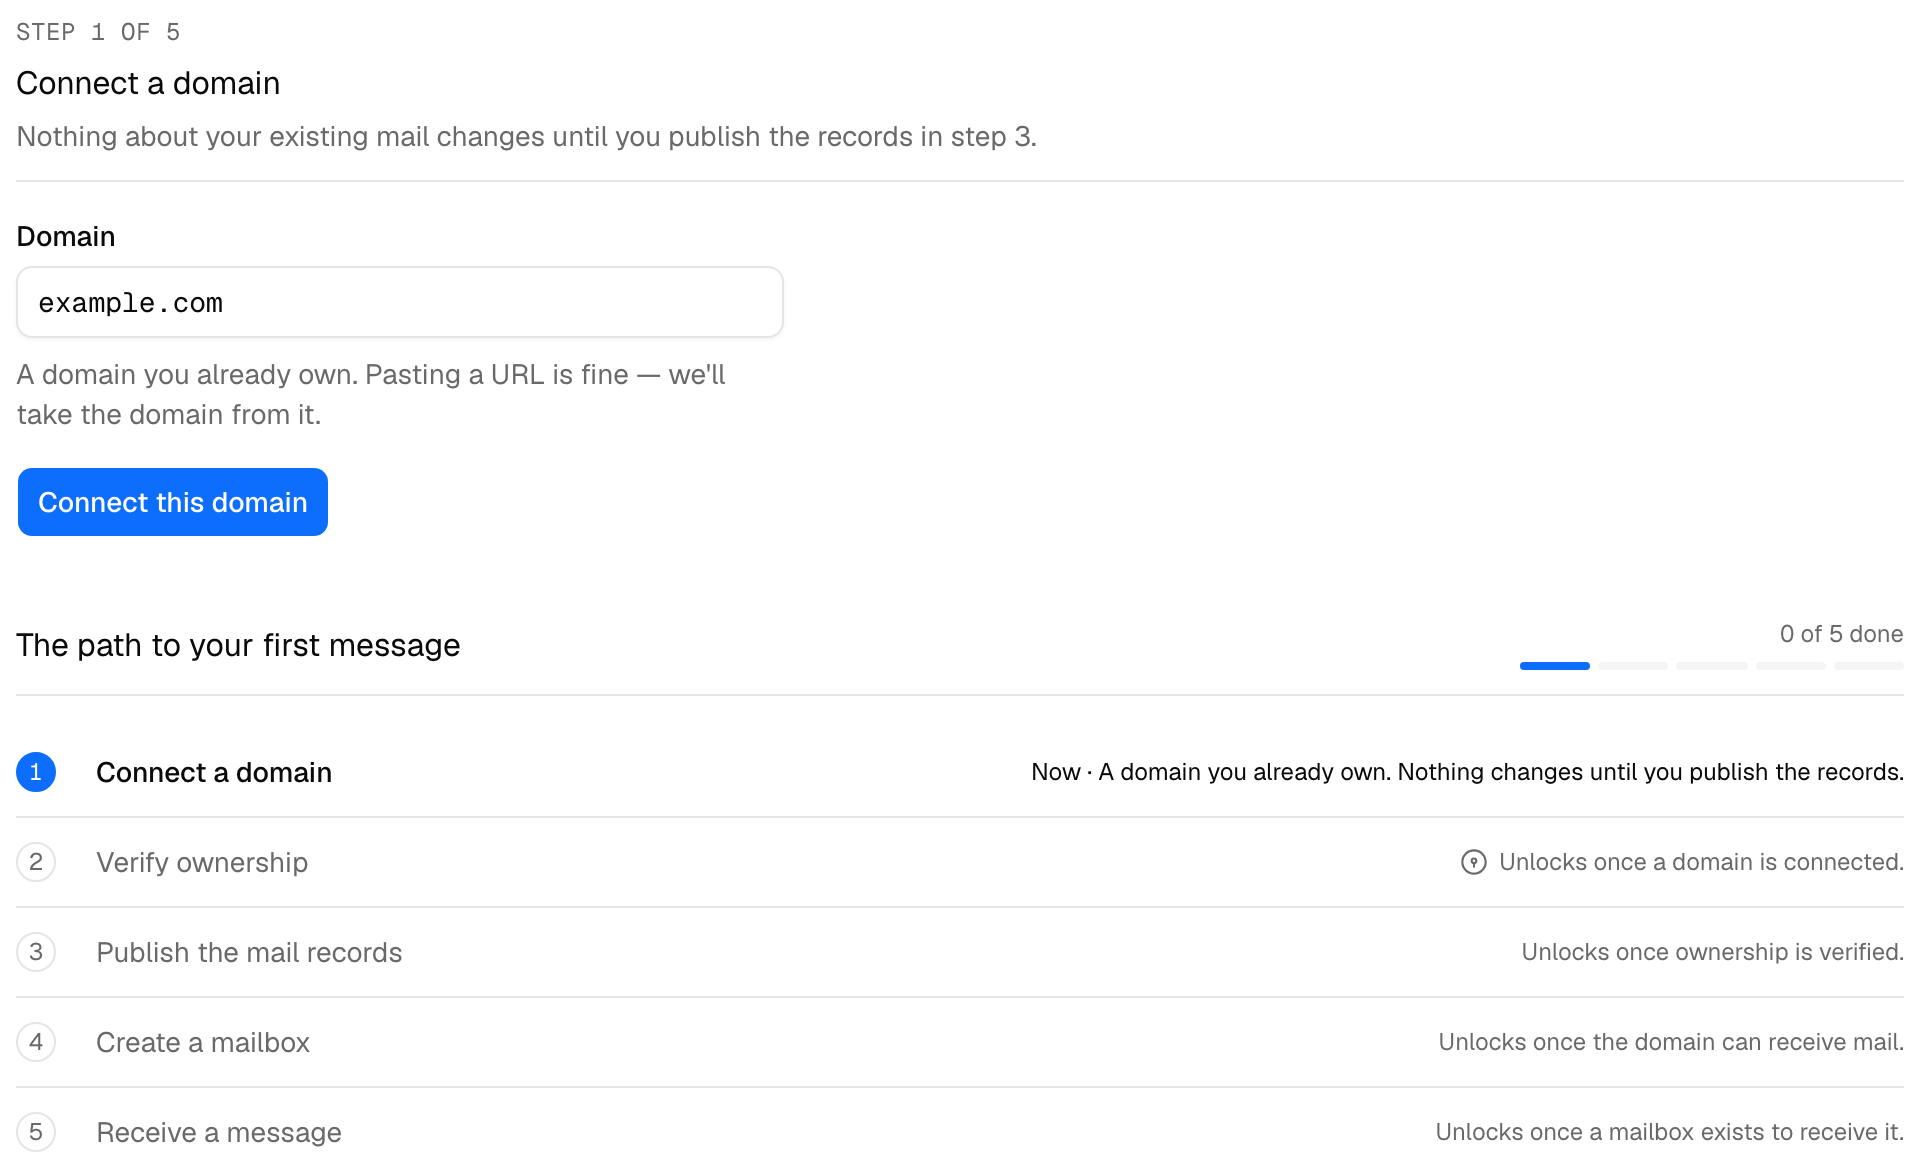
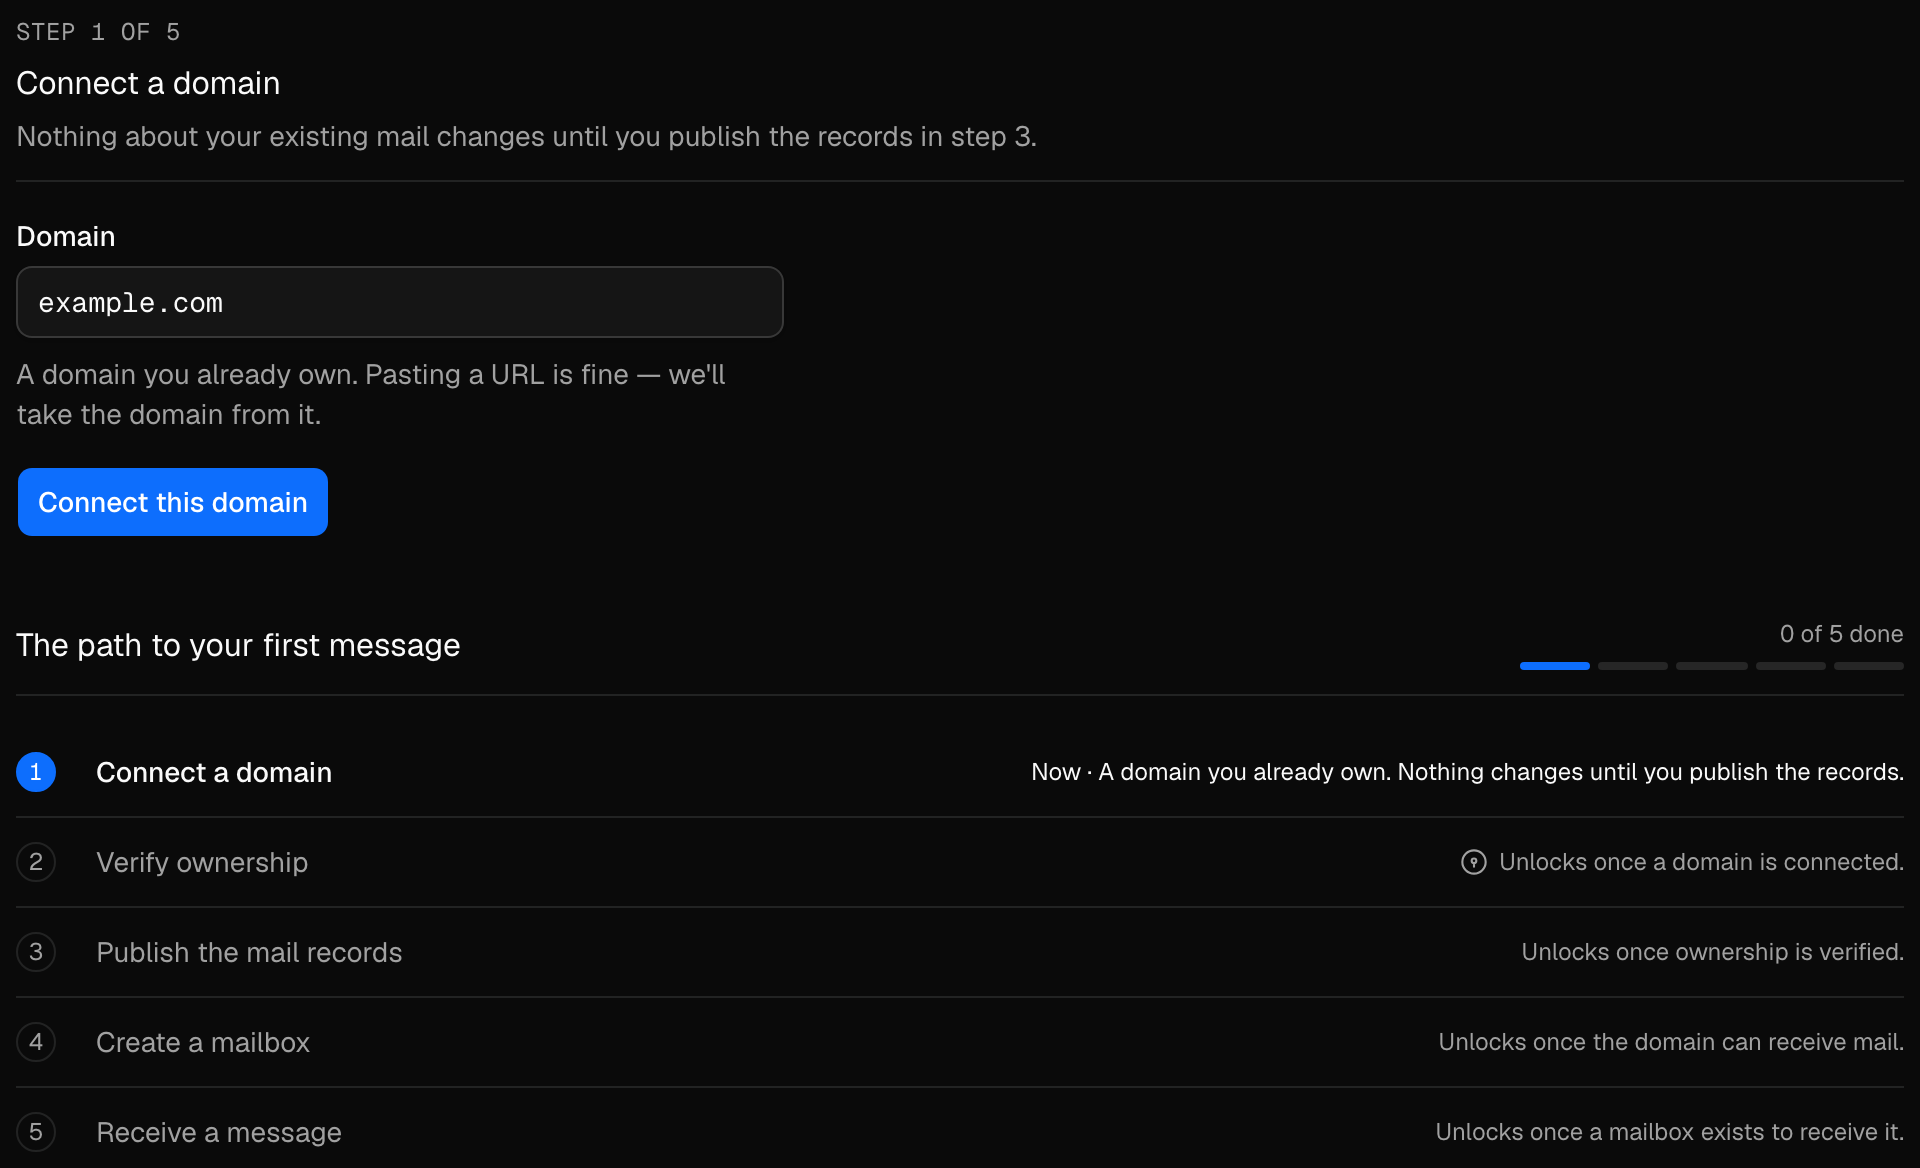
Under the form is the path: five steps on imado's side, each opening the next. This guide follows it, with the account before it and the first message after.
03Prove you own it
One TXT record shows the domain is yours and not someone else's, so it comes first and everything else waits on it. The value is unique to your domain; copy it from the page, not from here.
| Type | Host | Value | Status |
|---|---|---|---|
| TXT | _imado-challenge | imado-verification=… | Not found yet |
Add the record at your DNS host, leave the TTL at whatever the form suggests, come back and press Check again. A new record is usually seen within a few minutes. The status changes to Added, and the next step opens.
04Publish the mail records
Once ownership is verified, the page shows four more records and one optional one. This is the second visit to your DNS host.
| Type | Host | Value | Status |
|---|---|---|---|
| CNAME | k4m2…._domainkey | k4m2….dkim.amazonses.com | Not found yet |
| CNAME | p7ax…._domainkey | p7ax….dkim.amazonses.com | Not found yet |
| CNAME | zq1n…._domainkey | zq1n….dkim.amazonses.com | Not found yet |
| Type | Host | Value | Priority | Status |
|---|---|---|---|---|
| MX | @ | inbound-smtp.us-east-1.amazonaws.com | 10 | Not found yet |
| Type | Host | Value | Status |
|---|---|---|---|
| TXT | _dmarc | v=DMARC1; p=none; | Not found yet |
Add them, come back, and press Check again. Each record turns to Added as it is seen. Receiving works the moment the MX record is found. Sending is separate: once the three CNAME records are found, the mail provider checks them on its own and turns sending on when that check passes — usually within the hour, occasionally longer — and the domain's page says which of the two it is still waiting for. A message sent before then is refused — "This address can't send yet" — and the draft is kept.
You do not have to wait on the page. We check every domain once a day and finish the setup when the records appear, and if something is still missing after a while we send you one email saying which record.
05Create a mailbox
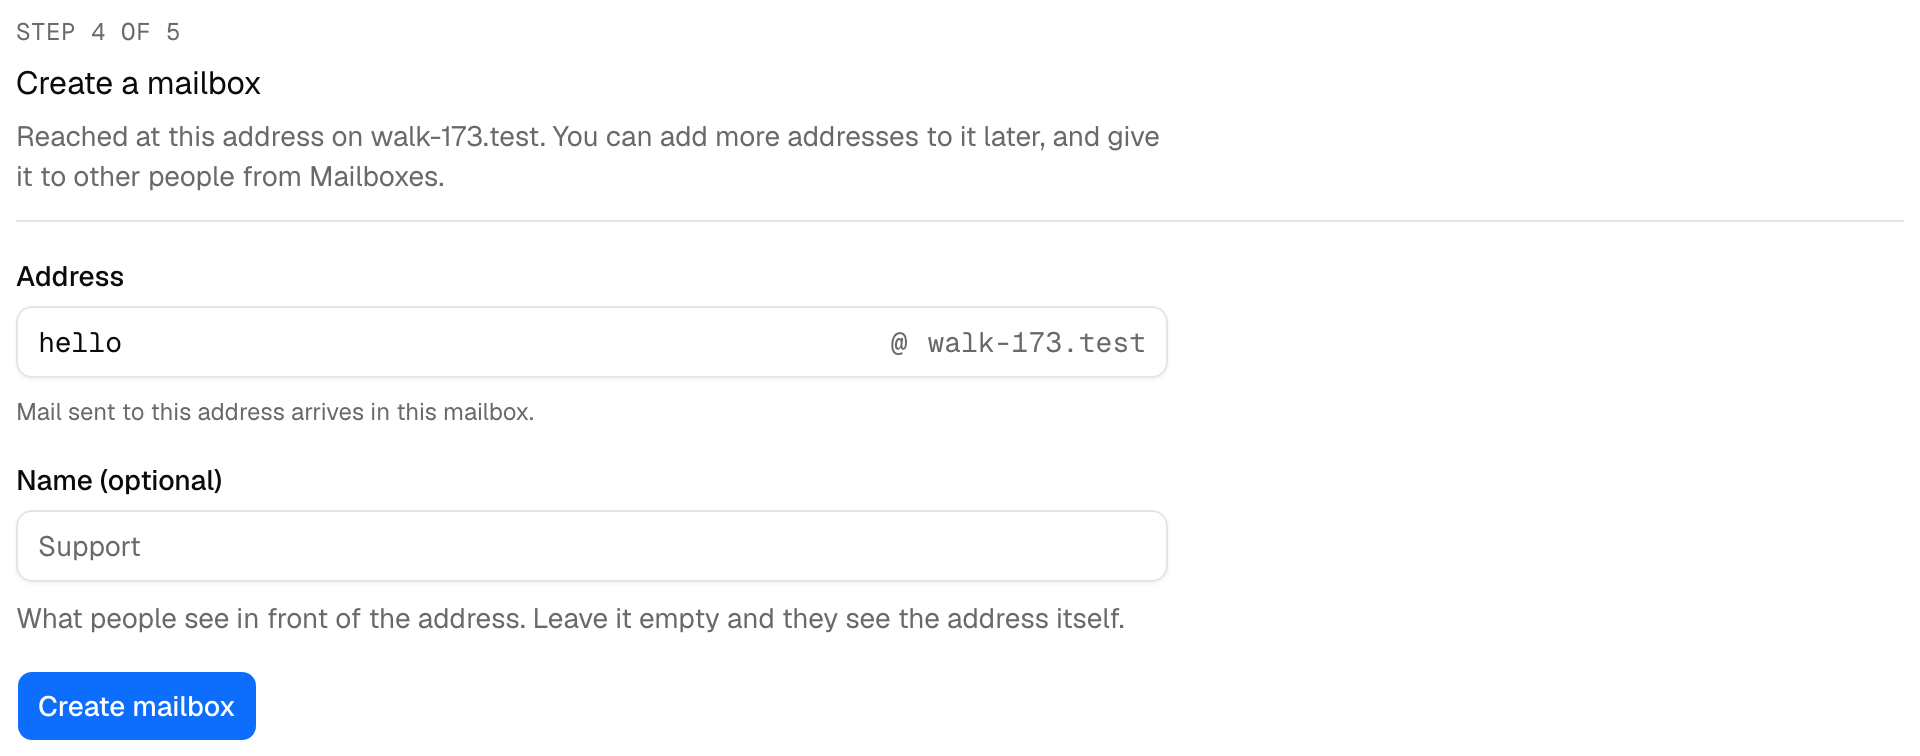
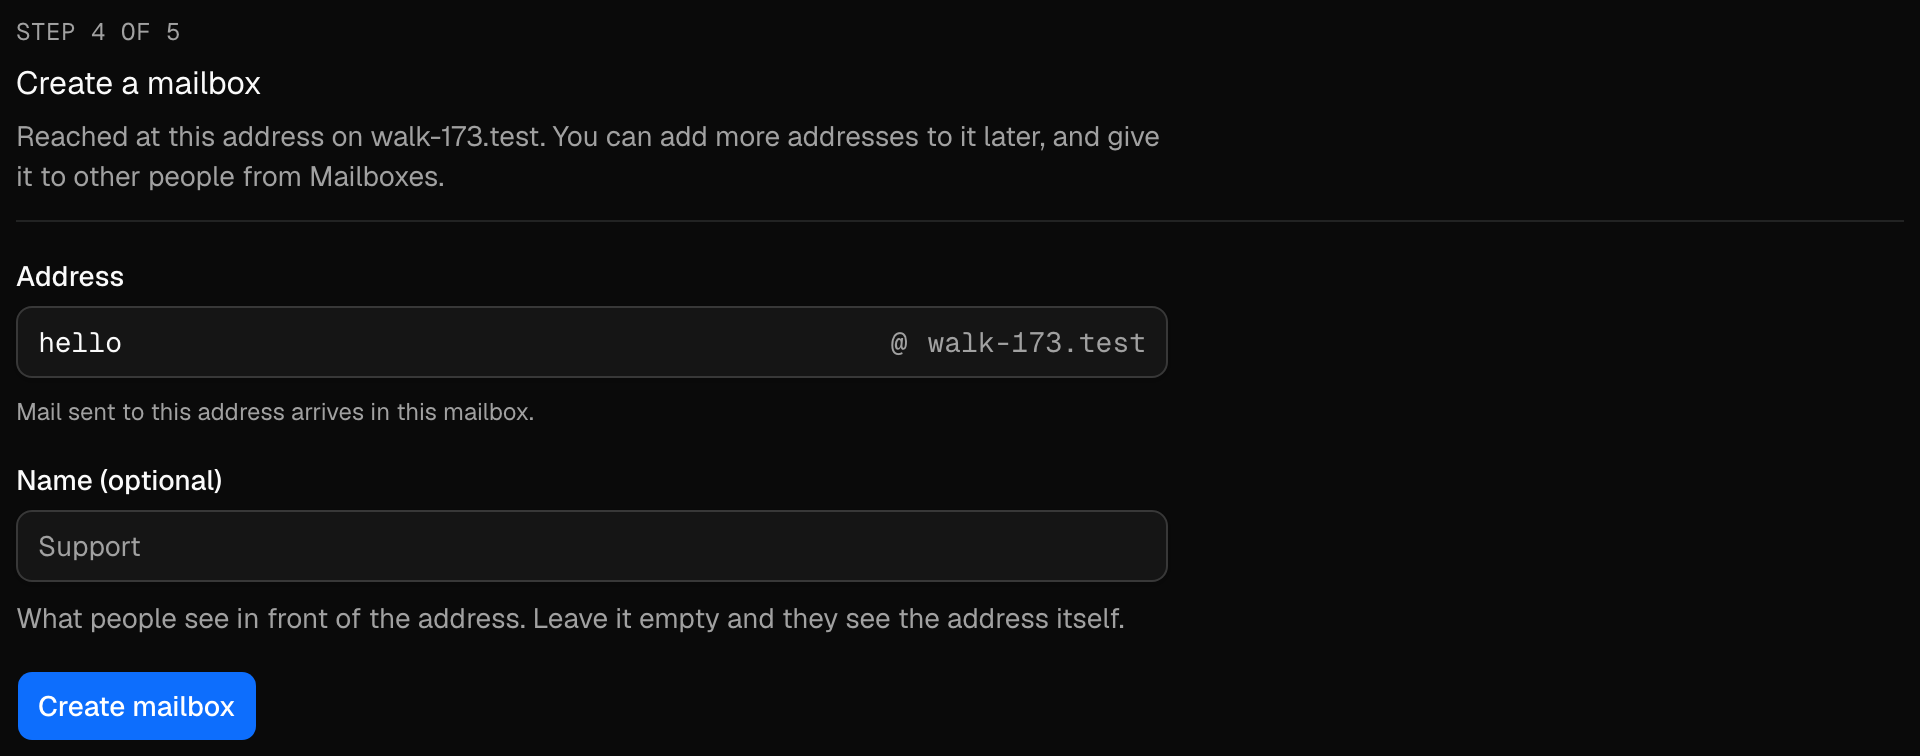
The fourth step asks for the address. Type the part before the @ — hello, hi, or your name — and press Create mailbox. The address takes shape as you type, and what you see is what is created. The name is optional: it is what people see in front of the address, and left empty they see the address itself.
06Send yourself a message
From any other account, send a message to hello@example.com. It appears in the inbox within a minute. Open it and reply: the reply goes out from hello@example.com and lands in the same conversation on the other side. That is the setup finished.
Mail to an address on the domain that you have not created does not reach you; create support@ before you print it. Catch-all — mail to an address you never created still reaching you — is part of the Builder plan once it ships, and the pricing page says what that costs.
If a record is not found
Most of the time the record is right and DNS has not caught up; give it an hour. If it is still Not found yet after that, it is one of these.
- The host was doubled. The form appended your domain to a host you had already typed in full, so the record exists as
_imado-challenge.example.com.example.com. Open the record at your host: if you can see the domain twice, shorten the host to the part before it. - The record went to the wrong place. You added it at the registrar, but the domain's nameservers point at another host. Your registrar's domain page shows the nameservers; the records go wherever they point.
- The record is proxied. On Cloudflare, an orange cloud means the record answers with Cloudflare's own address. Click it until it turns grey.
- Doesn't match means the record was found with a different value — an old one from a previous service, usually. Replace it with the value on the page.
If none of these is it, write to us with the domain name; a person replies.